Carrie-Lee asked
"I was wondering with some of the free printable embroidery designs, there doesn't seem to be much detail. Just straight lines outlining the little girl, little boy, etc and I am wondering what stitch do you use with those?"I talked about this a little
here, but I hadn't covered many embroidery stitches at that point and I didn't want to confuse anyone. Now that we've advanced past the basics, I can expand on that post a bit.
When you have patterns separate from their original packaging (like most of the ones you'll find online) it's sometimes hard to figure out what stitches were intended to be used. That's good and bad depending on how you view it. If you're new to embroidery you probably want more direction; if you're more experienced you may see it as an opportunity to try something new.
Since you mentioned a little girl in your question, let's use that as an example. The simple answer is to use
outline/stem stitch to follow the drawn lines. Use appropriate colors for her different parts—skin tones, hair, etc. But, if you want to get more creative, here are some ideas:
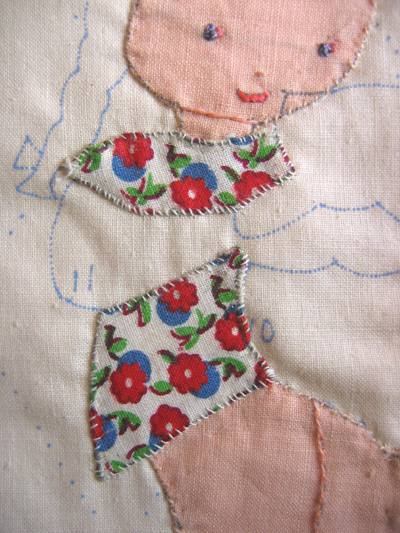
• Choose a print fabric, cut out the shape of her dress, and applique it in place. And then add embroidered details. This is a vintage bib I bought last year that I need to finish. Whoever started it used the same fabric for the binding and ties of the bib.
• Use a filling stitch and completely cover the shape of the dress. While it's difficult to cover a large area without distorting the fabric, cross stitches (like in the bonnet) work well, especially if you leave some open spaces. Filling stitches work best in small areas—like her hair. Try one of the braided stitches or French knots packed closely together, like this—

• Work a series of stitches over the blank area in the dress to simulate a pattern—like French knots for polkadots or small lazy-daisy flowers or tiny cross stitches. You see this a lot on the hoop skirts of Southern Belles.
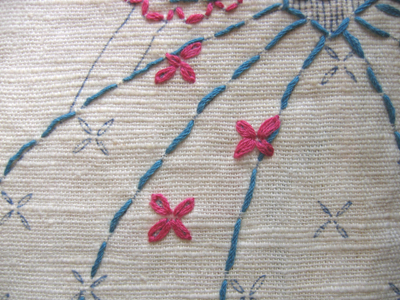
If you're just learning to embroider, work with the basic stitches until you've mastered them. Then, don't be afraid to experiment. Often, when I do a Stitch School post, I'm learning a new stitch along with you. As I do them I can picture interesting uses for them. Where I may have used outline stitch for a basket before, now I'd probably try the
woven filling stitch I showed you a few weeks ago.