
"How do you tell which stitch to use when looking at a pattern? Do the patterns come with a guide?"
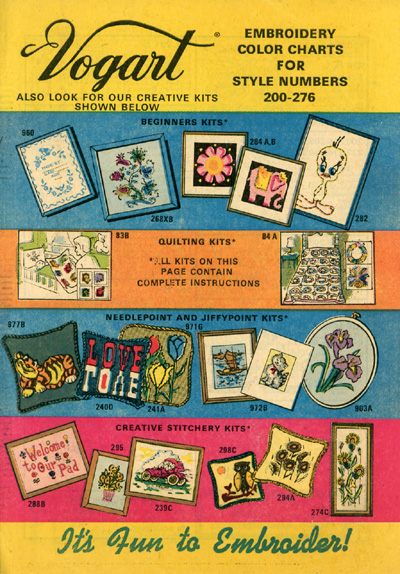
Great question. When you buy patterns in kit form—either modern or vintage—they'll probably have a guide that tells you which stitches and what colors to use. But with old patterns—like iron-on transfers or stamped-for-embroidery linens—you'll have to use a bit of intuition. At one time they did have instructions, and they probably were contained in a booklet that came along with the project. Here's what they looked like:
Inside are instructions for all the projects in that season's line, not just for the project you bought.
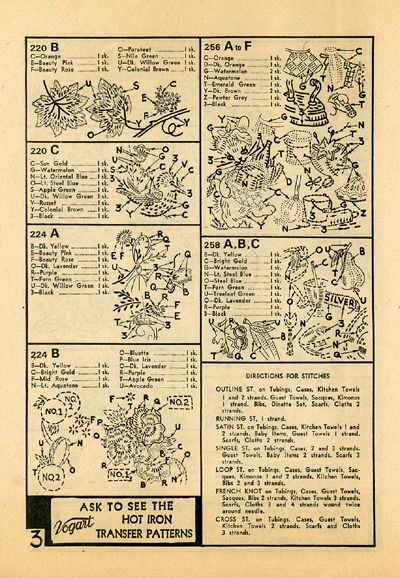
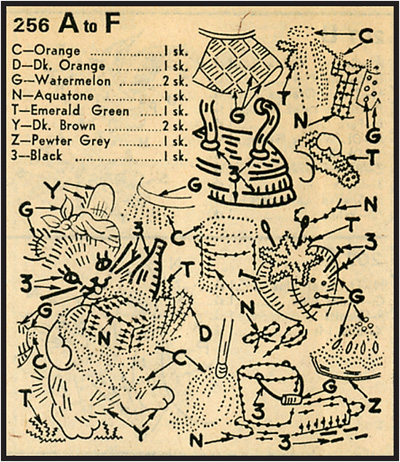
There are general directions for stitches within the book and color keys for each project.
It's not surprising that, after all this time, these booklets got separated from the projects they came with. I buy lots of unfinished stamped embroidery projects on Ebay and elsewhere and they rarely come with any information. When I do come across these booklets I grab them because you never know what will match a project you already have. But, I like to chose my own colors anyway, and it's really pretty simple to figure out the stitches. Ninety-nine percent of projects use just five basic stitches: straight, outline/stem, French knots, lazy daisy, and satin (all of which we've covered already except for French knots).
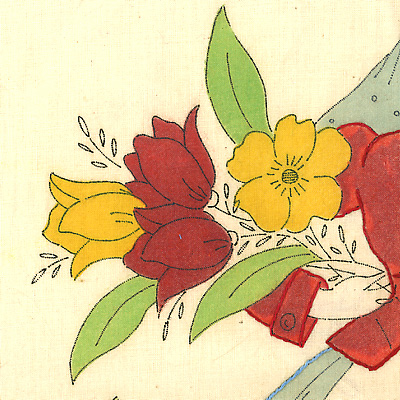
I'll show a couple of examples from some projects I haven't started yet. The first one is a vintage Vogart pillow top that the original owner started but never finished. She used outline stitch for the outline of the jacket, and that's what I'd suggest for any long unbroken lines, especially ones that curve. So, I'll also use this stitch for her shawl, the outline of her hair, around the outside edges of the bow, and the flowers.
Inside her hair you see a series of shorter straight lines—you can use straight stitch for these. And straight stitch will work for the straight lines inside the bow, too.
Tiny circles (like inside her shawl) calls for French knots. You start the stitch on one side of the circle and come down on the opposite side, trying to center it within the circle.
Notice that her eyes and lips have a series of closely-drawn straight lines and that's how patterns show satin stitch. You can go right over each line to get a loosely packed look or you can take another stitch in between to fill the shape in completely. The buttons on her jacket are probably supposed to be done in outline stitch as well, but I'm going to use real buttons instead.
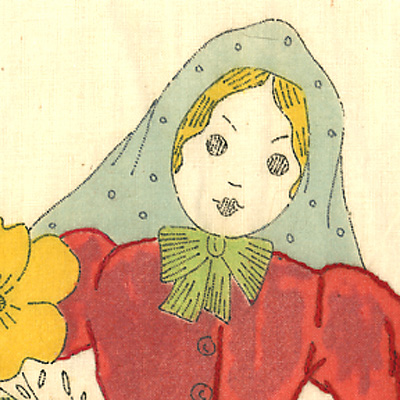
To the left of the figure in the first picture we see a bunch of flowers and these will be done mostly with outline stitch. Again, this is best for unbroken curved lines. But now we see something new—the small loop shape. This means detached chain or lazy daisy and that's what's used most often for small leaves. For flower petals, you'll often see these shapes arranged in a ring around a central tiny circle (French knot).
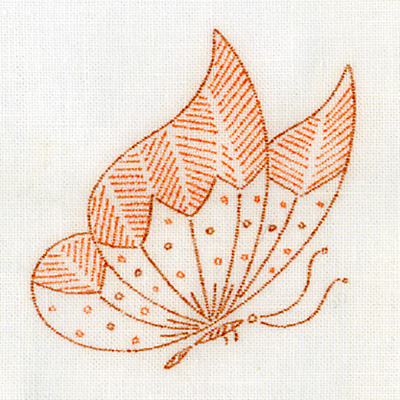
From a vintage runner, we have this butterfly. There are tiny circles (French knots), short straight lines on the wings (straight stitch), a body with closely packed lines (satin stitch), and some curvy feelers (outline stitch). Use a French knot at the end of each feeler.
And it's really that simple. Mastering the basic stitches will allow you to complete just about any project you encounter. Later, you might try substituting back stitch, chain stitch, or whipped running stitch for the outline stitch. It will look a little different but they're all good alternatives for long lines.
A lot of modern patterns use cross stitch, and that's easy to spot. I haven't covered this stitch yet, but basically it's two straight stitches that cross in the middle. The only thing to remember when doing it is to keep your stitches running in the same direction. So, do a row of stitches first in one direction, then come back over the row in the opposite direction to do the crossover stitches. This way all your crosses will look exactly the same.
Hope that answered your question. Keep 'em coming :)


2 comments:
What a great tutorial! I've bought and embroidered from a lot of vintage patterns recently - I had no idea those books were around! What a find! :)
This is such good information and is a perfect supplement to the various stitch tutorials. I cannot thank you enough for all the work you've been putting into this whole endeavor--and your generosity in sharing all this is so gracious and caring. Thank you!
Post a Comment